How have you been celebrating spooky season? Candlelit strolls through cemeteries after midnight? Binging horror films with countless glasses of apple cider? Picking out the perfect costume for your Halloweekend parties? Or perhaps taking a trip to a pumpkin patch to pick out the perfect vessel for your next jack-o-lantern?
Pumpkin carving is one of those activities that sounds wonderful in theory and appears easy as (pumpkin) pie when you see it done in movies. But once you’re actually sitting at home with a giant pumpkin and a knife, it can feel pretty daunting. So much work to gut the pumpkin, and then cutting out a face feels dangerous and difficult to do well. I’d rather not lose a finger just trying to celebrate October 31st!
Thankfully for all of us pumpkin-carving novices, Grandma Babs Costello has got our backs. She recently shared a video breaking down her most brilliant pumpkin carving dos and don’ts on TikTok, and viewers have been amazed by how easy she makes pumpkin carving seem. Below, you’ll find all of Babs’ best tips and tricks, along with some of the replies viewers have left and a couple of Babs’ delicious autumnal treat recipes. Feel free to share any of your own pumpkin carving tips in the comments, and let us know if you’ll be creating a jack-o-lantern this Halloween. Then if you’re interested in checking out a Bored Panda article featuring carved pumpkins that belong in an art museum, you can find that right here.
More info: TikTok
The internet’s favorite Grandma, Babs Costello, has been sharing her most brilliant spooky season tips online to help followers embrace the Halloween spirit
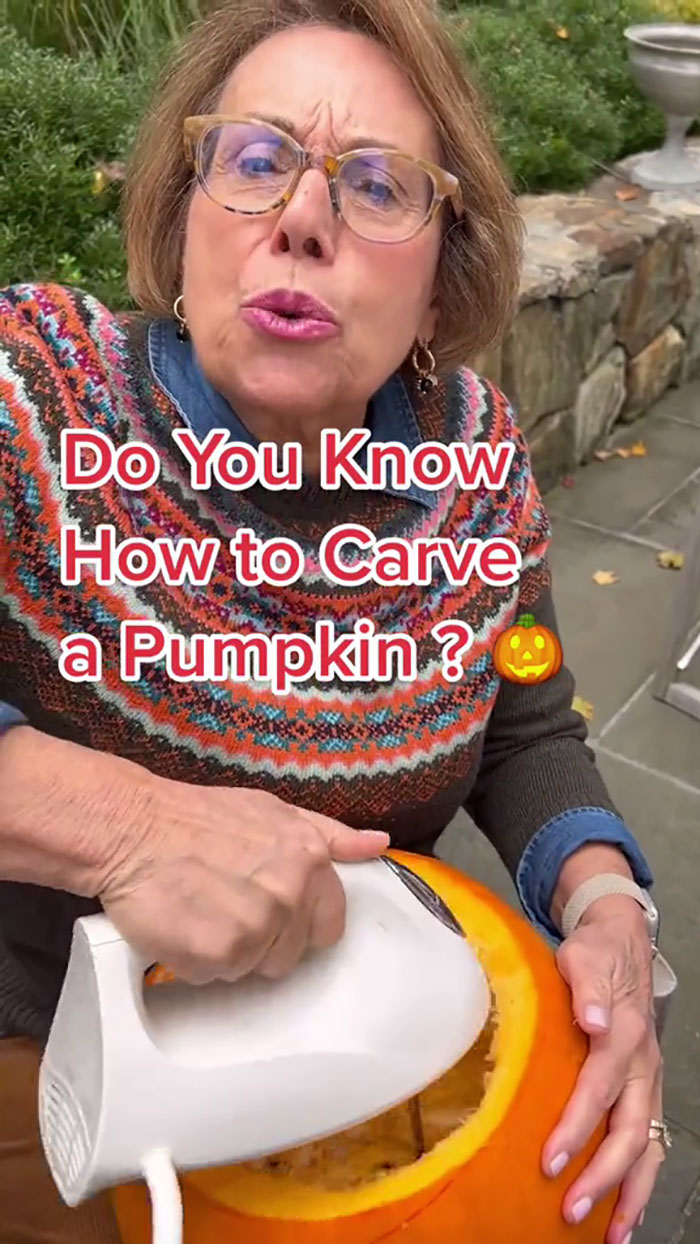
Image credits: brunchwithbabs
When it comes to carving pumpkins, Babs noted that the process can be much simpler than you might think
She then broke down all of her best methods for creating the perfect jack-o-lantern
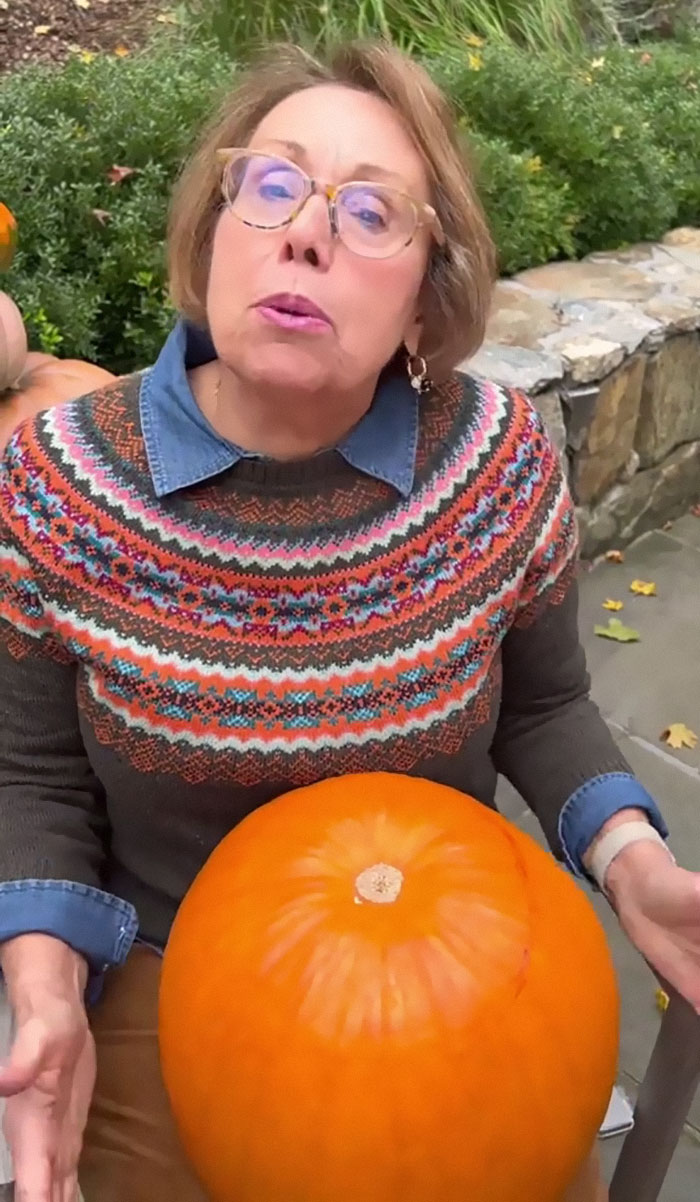
Image credits: brunchwithbabs

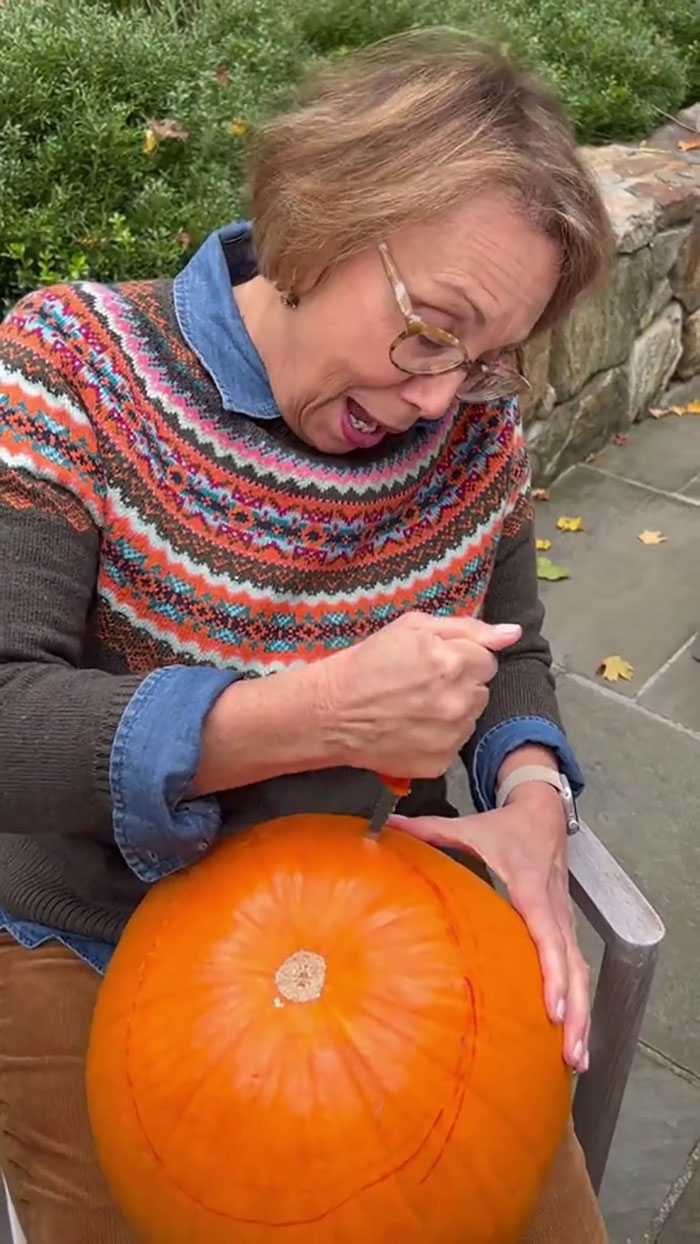
Image credits: brunchwithbabs

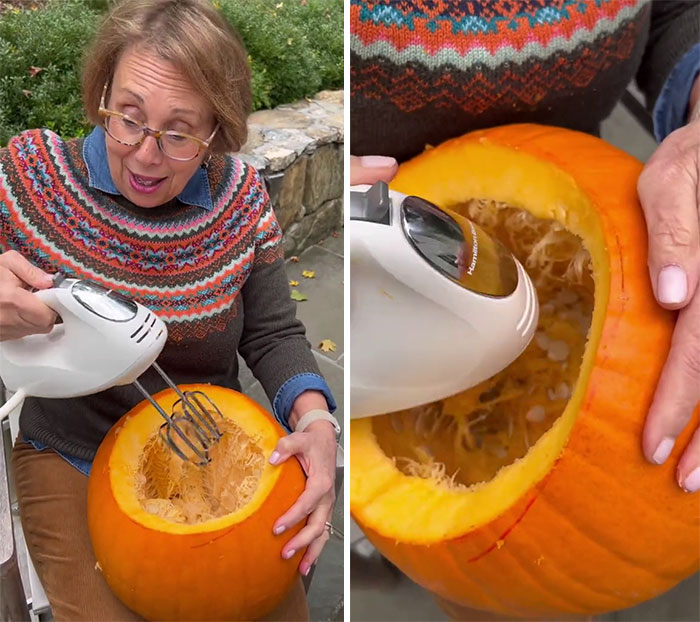
Image credits: brunchwithbabs
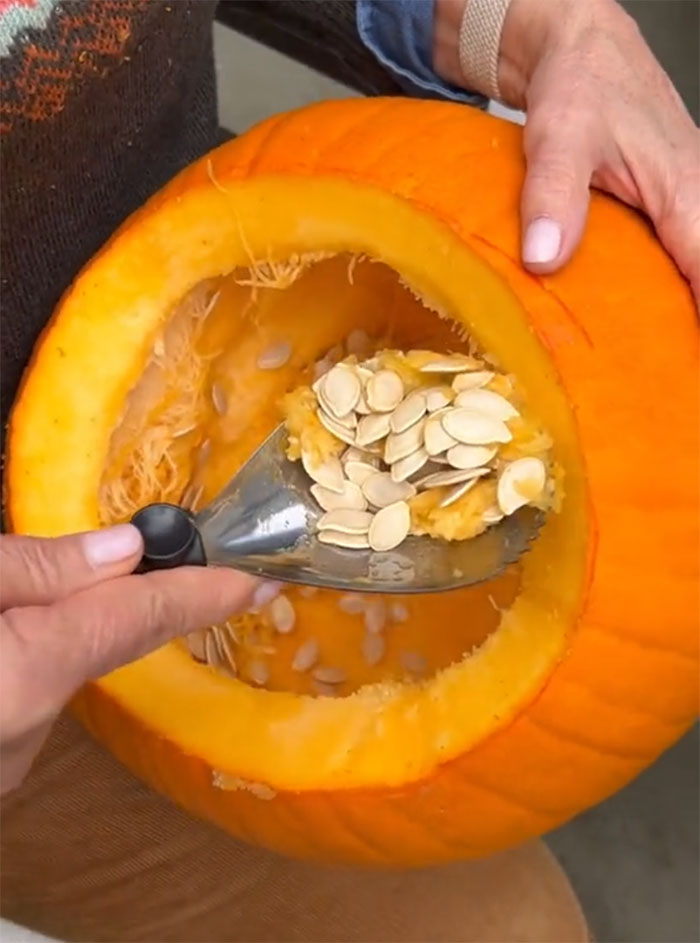
Image credits: brunchwithbabs

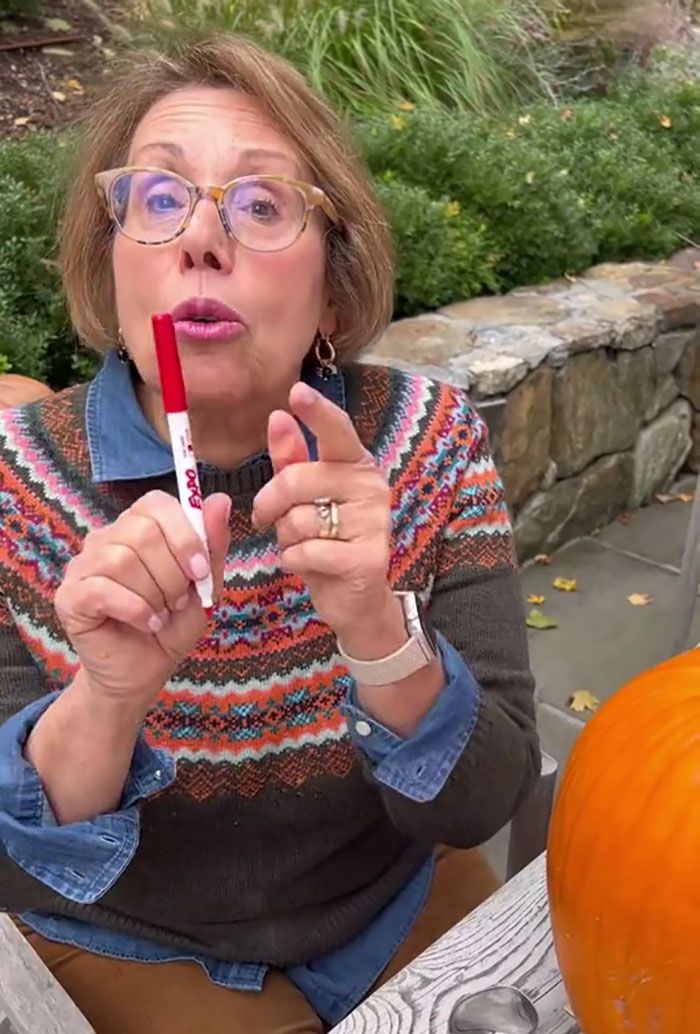
Image credits: brunchwithbabs

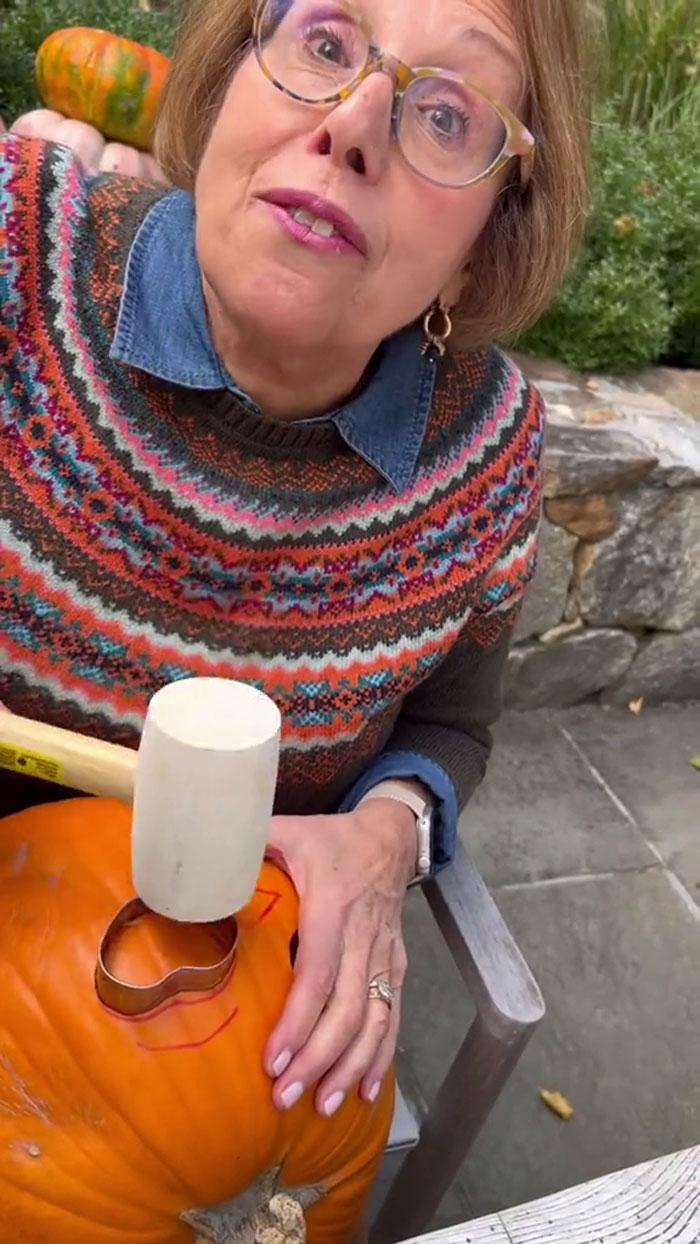
Image credits: brunchwithbabs
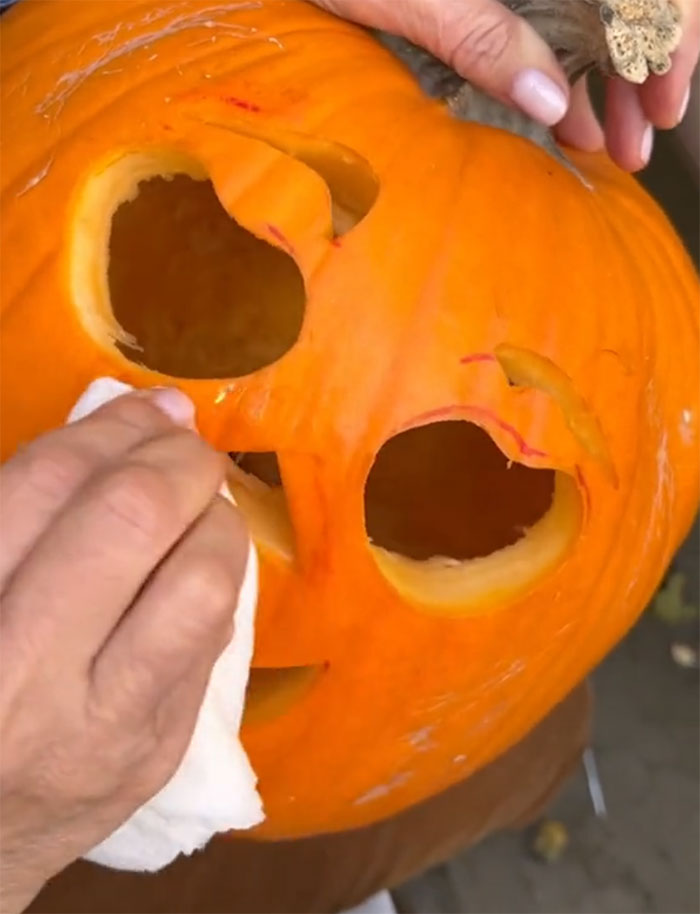
Image credits: brunchwithbabs

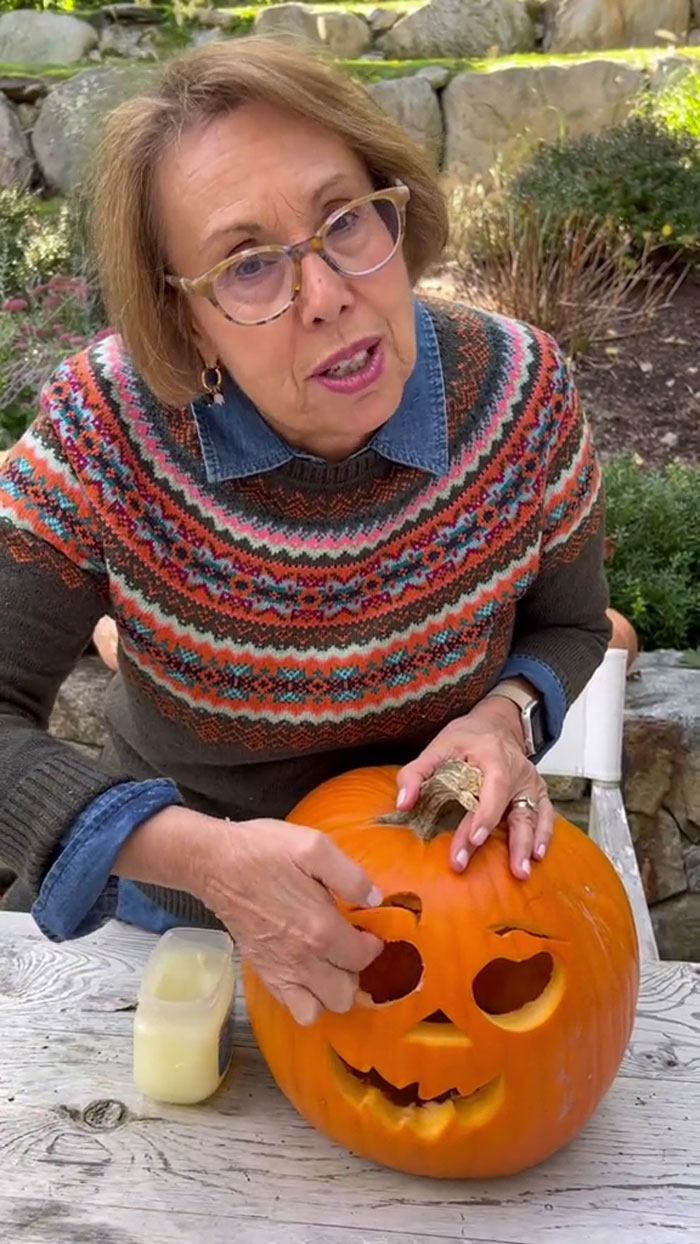
Image credits: brunchwithbabs

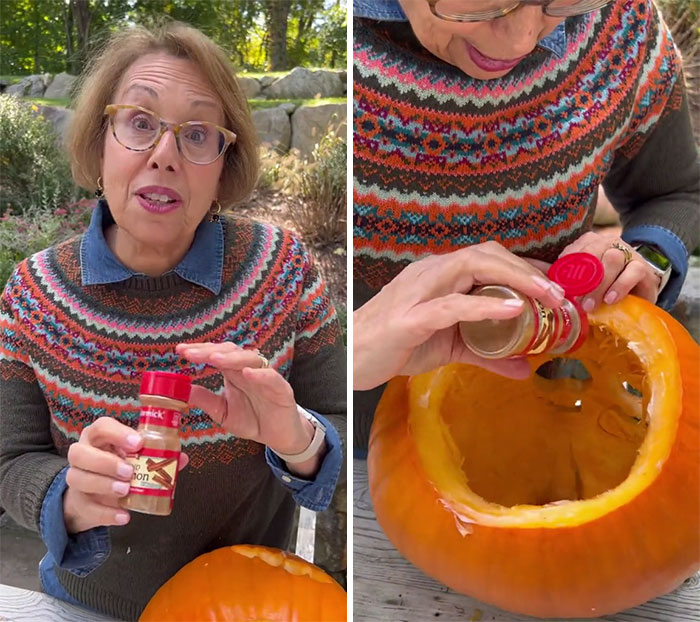
Image credits: brunchwithbabs

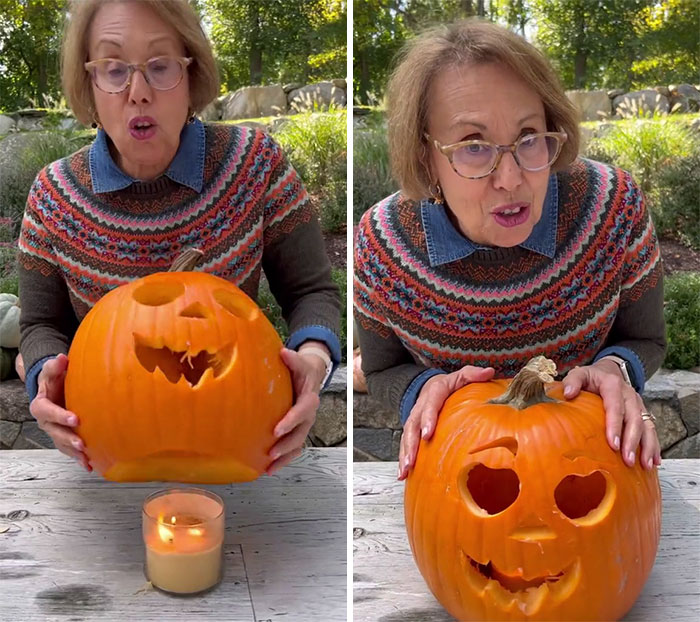
Image credits: brunchwithbabs
You can watch the full video right here
@brunchwithbabs Do’s and Don’ts of Pumpkin Carving
It is a treasured tradition in our family to carve jack-o-lanterns for Halloween. But with all the yuck and mess, sometimes my kids would quit the project before we even started. Babs’ Do’s and Don’ts for Pumpkin Carving, saves the mess and speeds up carving so you can have the perfect jack-o-lantern with no mess and no fuss. Happy Halloween
XO Babs 1. Carve from bottom. That way you have the stem to hold onto and you can easily slip the pumpkin right over a candle or flashlight. 2. Hold pumpkin in your lap to carve. You will have a much steadier pumpkin to cut. 3. Use a red dry erase marker to sketch your design. It erases easily and if you miss a spot, it blends in. 4. Use a hand mixer to clean out your pumpkin. 5. Use cookie cutters and a rubber mallet to carve your design. 6. Cover all cut surfaces with Vaseline to keep the pumpkin moist after carving. Pumpkins should last 1-2 weeks carved! 7. Sprinkle some cinnamon on the inside top of your pumpkin for festive pumpkin spice smell when a candle is lit inside the pumpkin.
#pumpkincarving ♬ original sound – everyone’s grandmother
Carving pumpkins is a beloved Halloween tradition that many people take part in every year. According to Statista, over 148 million Americans plan to carve pumpkins this October, and two years ago, a whopping 151.95 million people in the US participated in creating jack-o-lanterns. But this tradition has been around for centuries, originating from an Irish myth about a man named “Stingy Jack”. As the legend goes, Stingy Jack invited the Devil to have a drink with him, but when it came time to pay, Jack didn’t want to give up any of his money.
He then convinced the Devil to turn himself into a coin that could pay for their drinks then slipped the coin into his pocket next to a silver cross, which kept the Devil from changing back into his original form. Eventually, Jack freed the Devil under the condition that he would not bother him again for a whole year and that if Jack died, the Devil would not claim his soul. When the next year came around, though, Jack again tricked the Devil into leaving him alone, but this time for 10 years.
When Jack finally died, the Devil kept his word not to claim his soul and refused to let him enter hell. He instead sent Jack off into the dark night with only a burning coal to see where he was going. Jack then placed the coal into a carved-out turnip and, supposedly, has been roaming the Earth ever since. In Ireland and Scotland, people began creating their own versions of Jack’s lantern out of potatoes, turnips and beets and placed them in windows to ward off wandering evil spirits. Once the tradition made its way to America, however, people discovered that pumpkins made for the perfect jack-o-lanterns.
Viewers’ minds were blown, and many commented thanking Babs for the tips


When I was a kid, my mother used to give my brothers and I small pumpkins to paint, rather than carve. She was concerned we would hurt ourselves by carving pumpkins, and understandably so, as the number one cause of injuries around Halloween is pumpkin carving. According to US News, between October and November 2018, 44% of Halloween-linked injuries in the United States began with the simple act of carving a pumpkin.
“There is a reason Halloween is called ‘fright night’ — it is, after all, the spookiest night of the year. But there is another interpretation of that term that concerns orthopedic surgeons in the emergency department: a spike in trauma injuries,” Dr. Craig Phillips, an orthopedic hand surgeon and an American Academy of Orthopaedic Surgeons spokesperson, told US News.
If you’re planning on carving a pumpkin this year, be sure to remember all of Grandma Babs’ tips to stay safe and to create the best looking jack-o-lantern your neighborhood has ever seen. But if you’re worried about getting hurt, you can always opt for simply baking some of her Halloween goodies instead. We’d love to hear what artwork you plan on creating on your pumpkin canvases in the comments below, and then if you’re interested in seeing some of the most impressive jack-o-lanterns in the world, don’t forget to check out this Bored Panda article next.
Babs even shared some of her simplest and most delicious recipes for Halloween treats
@brunchwithbabs 2 Ingredient Pumpkin Bread recipe below
When you have a taste for pumpkin and there is no time to fuss…this is one of my favorite go-to seasonal treats. It is so easy and so yummy (and vegan!) It really satisfies that pumpkin craving and is the perfect afternoon snack or breakfast. Treat yourself and make this yummy 2 Ingredient Pumpkin Spice Loaf! I can’t keep it around when my Grandkids are over, that is for sure!
. XO Babs 2 Ingredient Pumpkin Bread
Ingredients: 2 Ingredient Pumpkin Spice 1 box spice cake mix 1 – 15 ounce can pureed pumpkin
Instructions: In a medium bowl, mix the spice cake mix and pureed pumpkin until thoroughly combined. Spread mixture into a greased loaf pan. To get that “bakery look” score down the center of the bread with a butter knife. Bake at 350°F for 55-60 min. Cool completely. Slice and serve. #pumpkinbread #pumpkinloaf ♬ original sound – everyone’s grandmother
@brunchwithbabs Get my cookbook link in profile
. Mrs. Williams’s Peanut Butter Bars
recipe below
Two of my favorite comfort foods in one easy treat! My dear friend, Joan Williams, first brought these bars to our Growing Tree Nursery School Annual Halloween party (I was dressed as the Cat in the Hat – each and every year;) and they became an instant hit around the school and especially with my family. Think candy meets cookie meets delicious! Happy Halloween XO Babs Mrs. Williams’s Peanut Butter Bars
Ingredients: 1 lb powdered sugar 2 cups graham cracker crumbs 1 cup smooth peanut butter 1 cup butter, melted 1 – 12 ounce bag semi sweet chocolate chips, gently melted
Instructions: To a food processor, add the powdered sugar, graham cracker crumbs, and peanut butter. Process until combined. With the motor running, drizzle the melted butter through the tube into the mixer until thoroughly combined. Evenly spread the peanut butter mixture in a 10” x 15” rimmed baking sheet. Pour the melted chocolate over the peanut butter layer, and spread evenly with an offset spatula.Refrigerate for 10-20 minutes, or until cooled (careful not to chill too long or the chocolate will crack when cutting. If you cool for longer than 20 minutes, bring to room temperature before cutting.) Cut into 2-inch squares, and serve. These are best within the first 2 days, but you can store in an airtight container in the refrigerator, layers separated by parchment paper, for up to 5 days, or in the freezer for up to 6 months
XO Babs #halloweentreat #halloweendessert #peanutbutterbars ♬ original sound – everyone’s grandmother
The post Grandma Shares Her Best “Dos And Don’ts Of Pumpkin Carving”, Goes Viral first appeared on Bored Panda.
from Bored Panda https://ift.tt/rsR7K1d


